since I've started my journey as freelance 3D modeling artist, I've found a newfound confidence in my skills. I'm able to model things faster and easier. and the feedback that I've been receiving from my colleagues and peers has really helped me grow over these past few months.
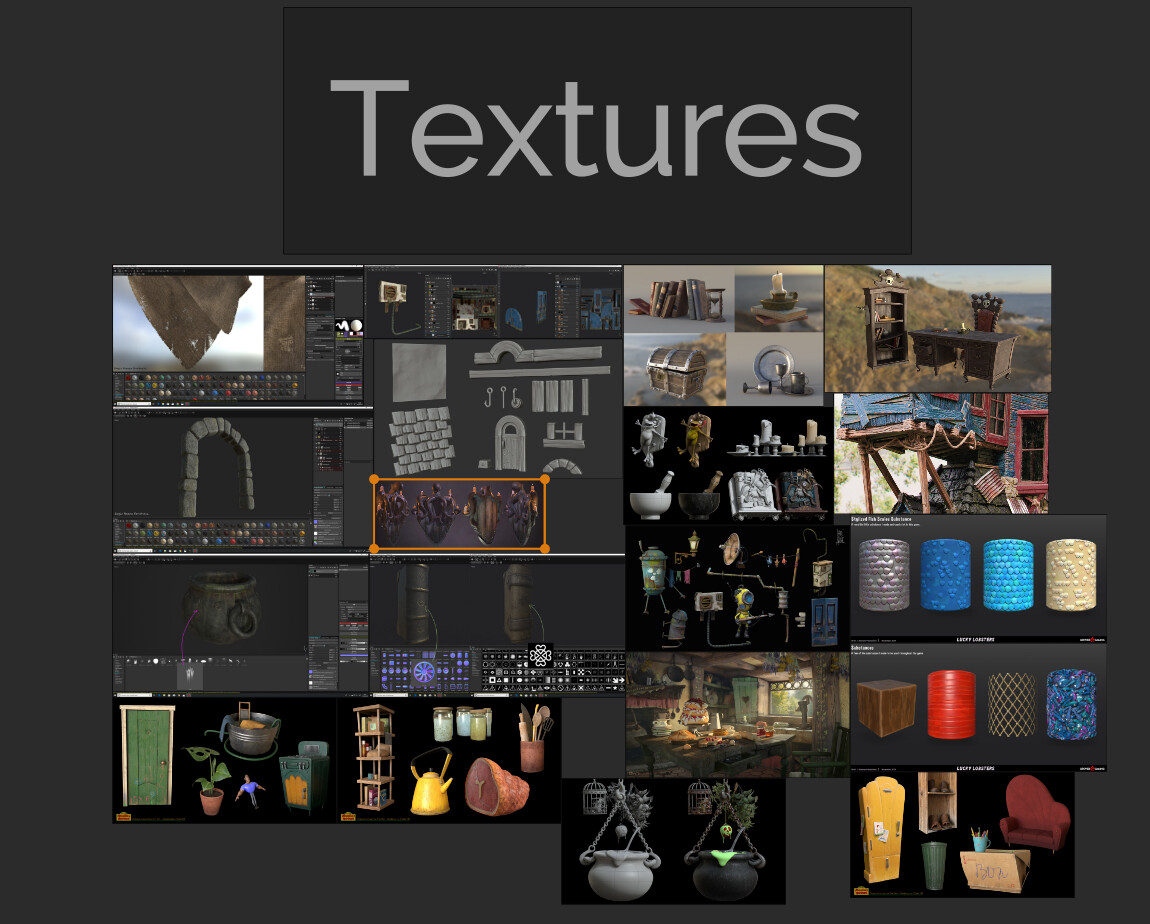
That confidence has brought me to re-visit some projects that I started a few years ago. I shelved this project in particular because I found it overwhelming, but now it doesn't seem as daunting.
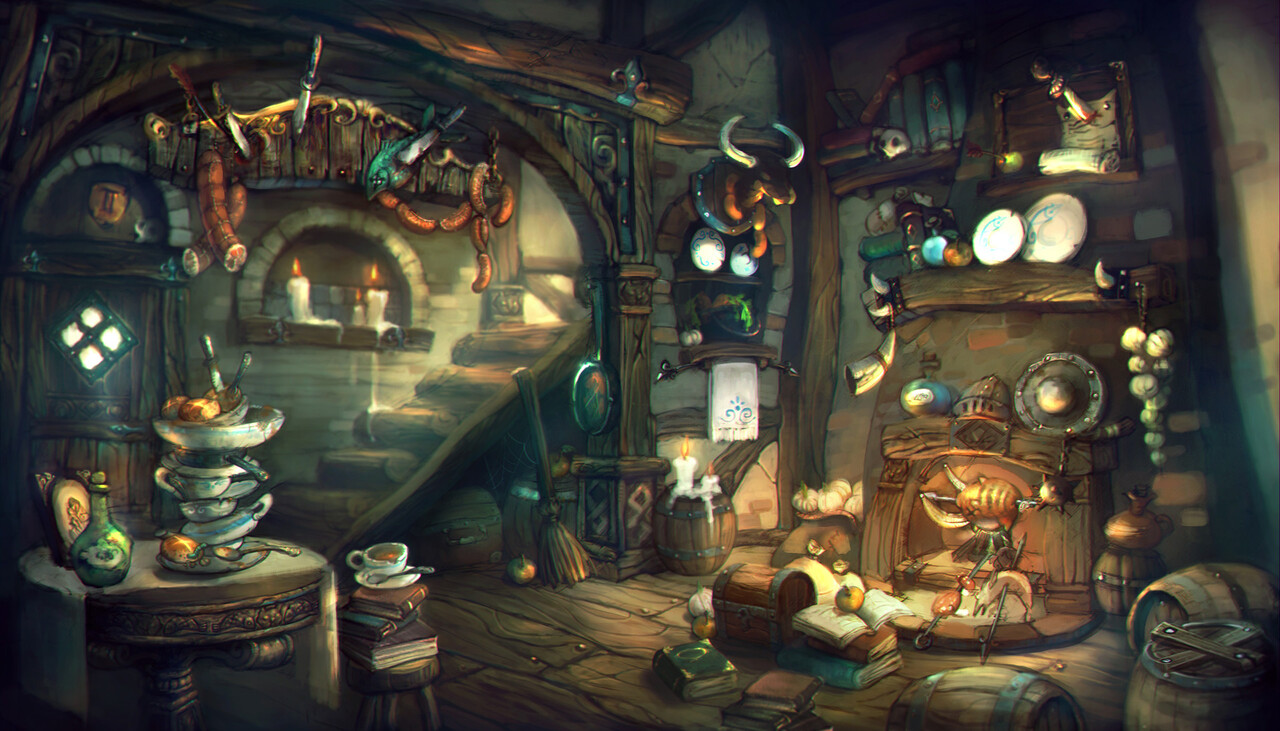
I'm able to look at this illustration, In The Inn by Greeimm Bae (https://www.artstation.com/artwork/rJmA2) with a new perspective.
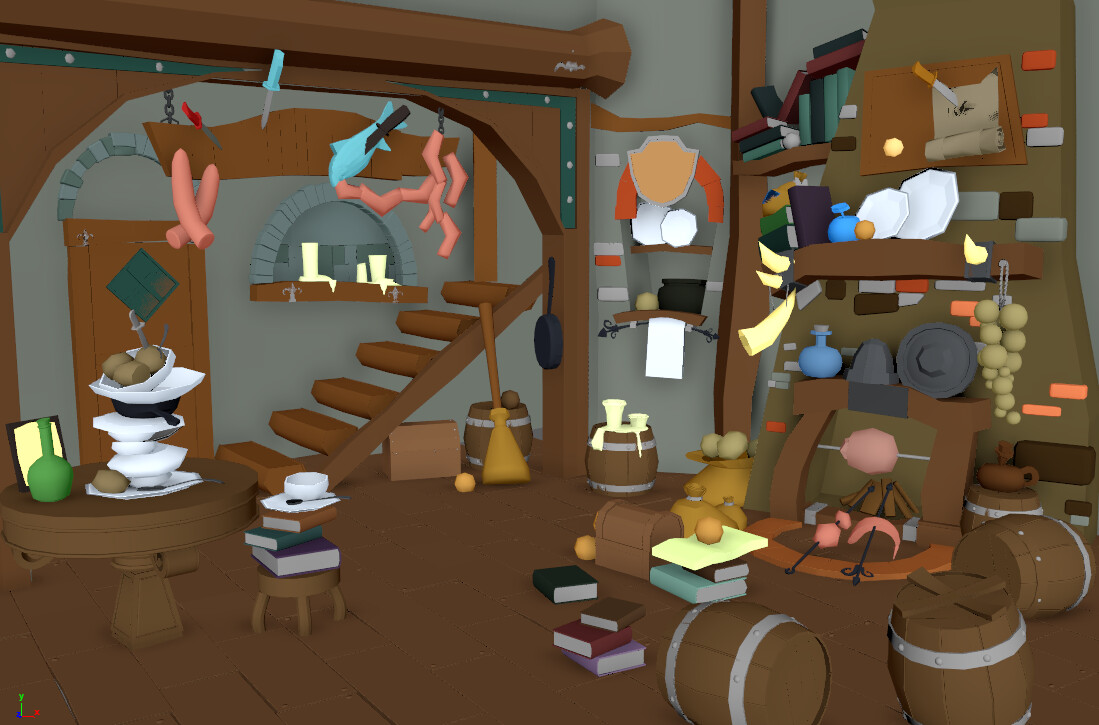
I started with looking over where I left off with my modeling last time.
I was very disorganized about my approach. There were some models that I had already started texturing while others didn't even have block outs yet. So I decided that the block out phase of the project was the best starting point.
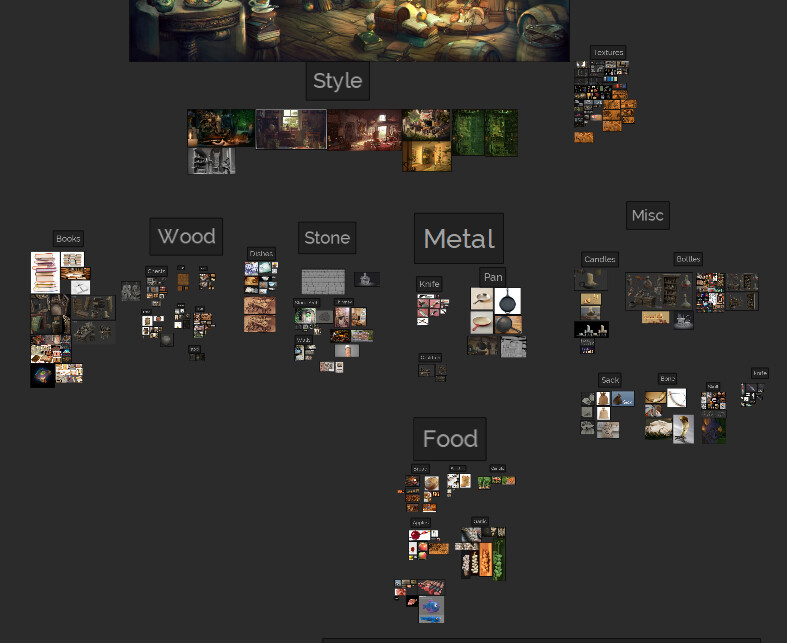
The proportions were correct and everything I was at a decent place to pick up where I left off. I just needed to look at my references and see if I had what I needed in that department. Luckily, it seemed that I had a good amount of reference collected in a Pureref document 3 years ago. But I still took the time to add a little more. for the things I missed. Each category might have a sub category or two. For example, my Metal category has sub categories of Knives, Prying Pans, and Cauldrons.
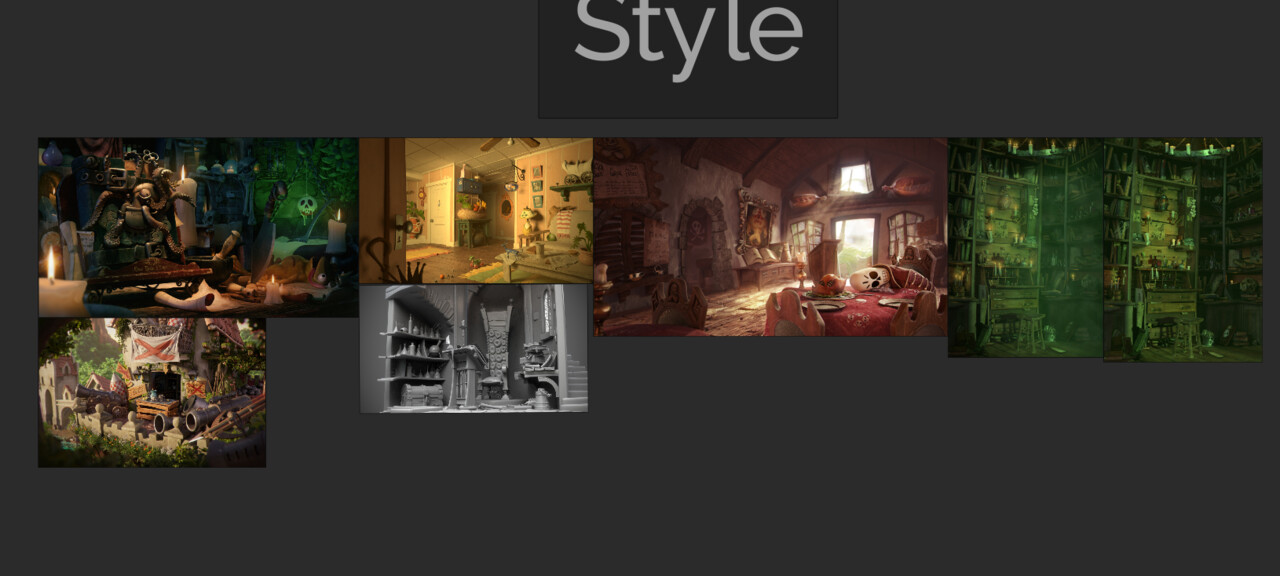
I then needed to make a point to identify the type of Style that I wanted to aim for, I wanted to go in the direction of a heavily stylized look with semi stylized textures as well.
All that was left was getting started. I have recently switched to working in Bender for freelance, but I've been using Maya since my school days, so I thought that this would be a good project to feel out where I am lacking in my Blender know how.
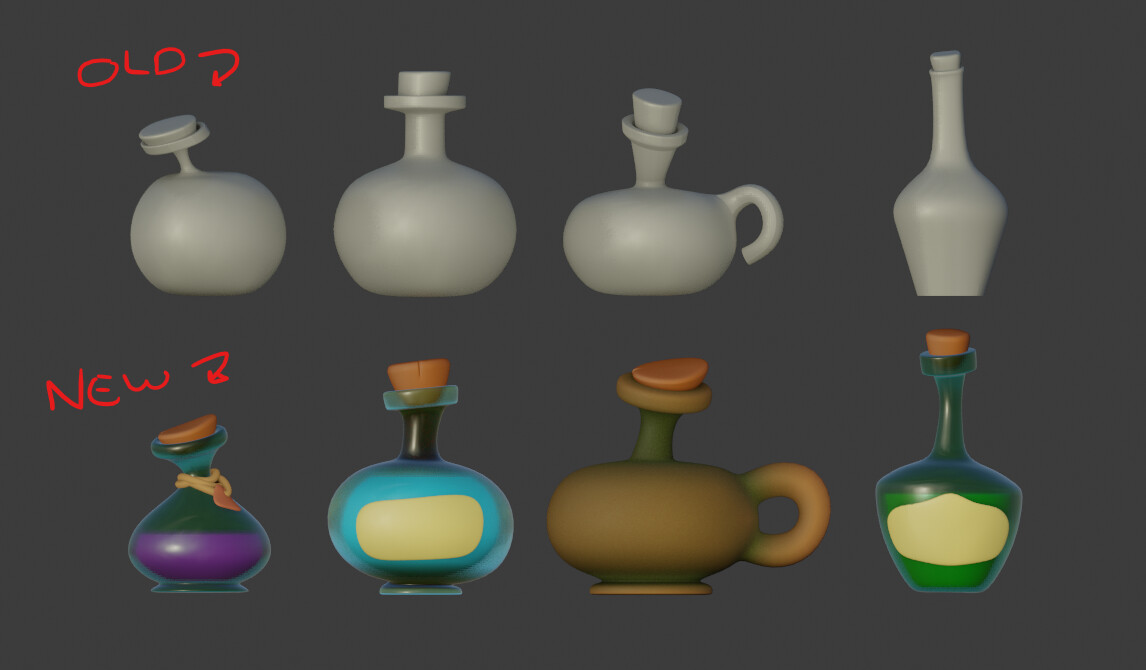
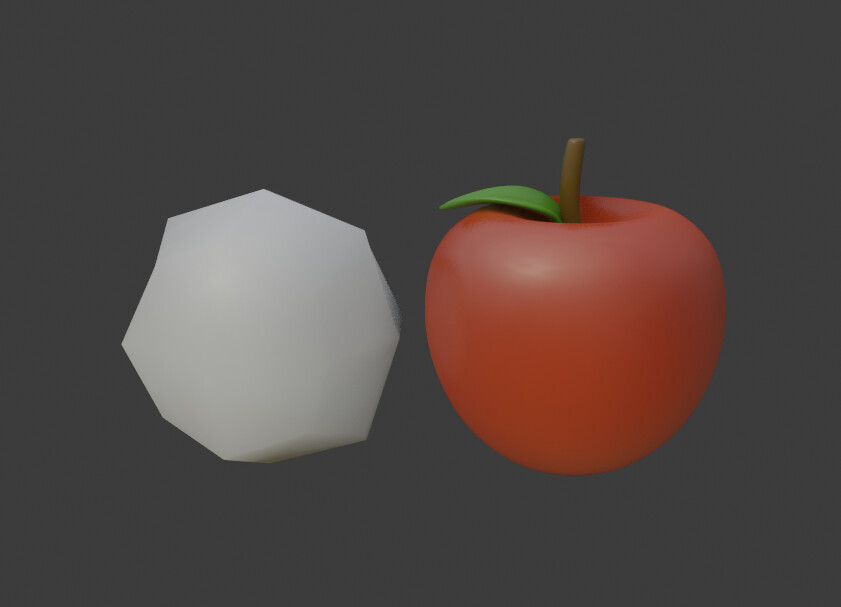
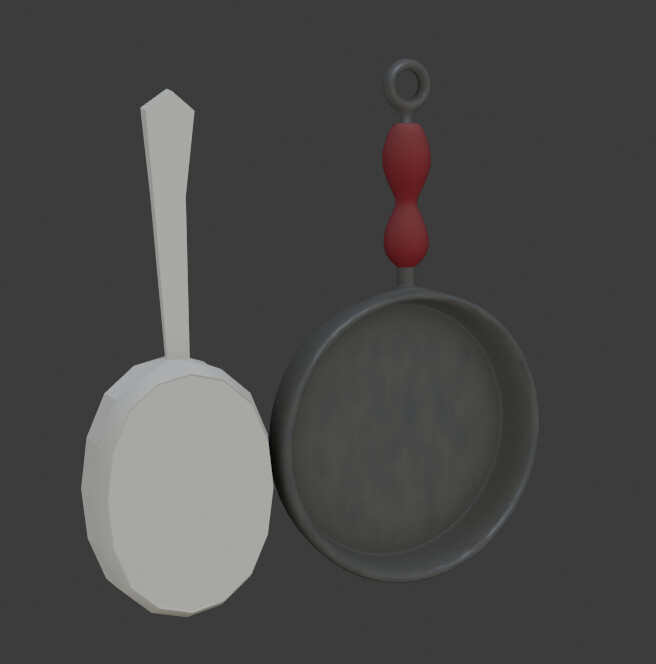
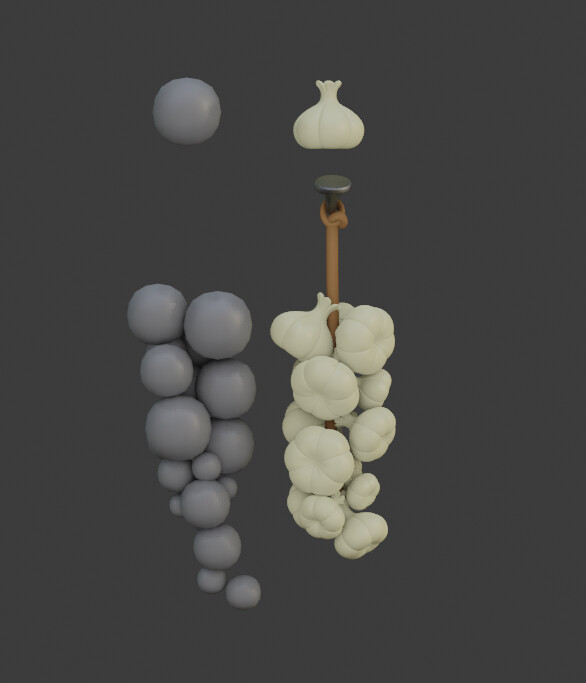
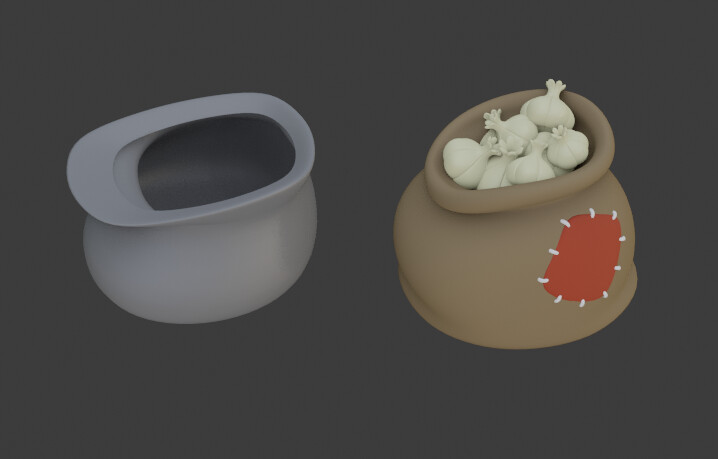
As of right now, I'm starting with modeling. Getting everything to the same level of detail from the block outs. So far, my progress has been pretty good. These textures are not final, just some sample colors to get an idea for future texturing. Here are some side by sides of some block outs/things I considered "done" in 2018 next to what I got done now in less time.
I still have a lot to do but I wanted to document where I have left off as of last week on this process. I will update again soon!!


